Balancing the Heat: Getting Silk-Screened Glass Tempering Right
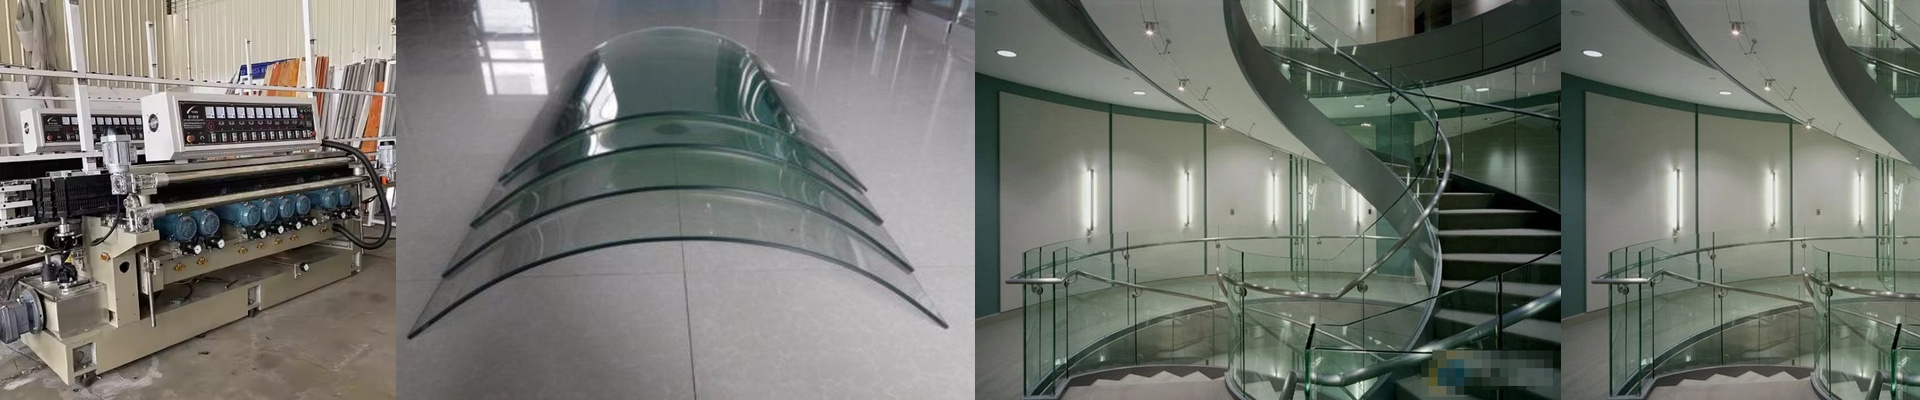
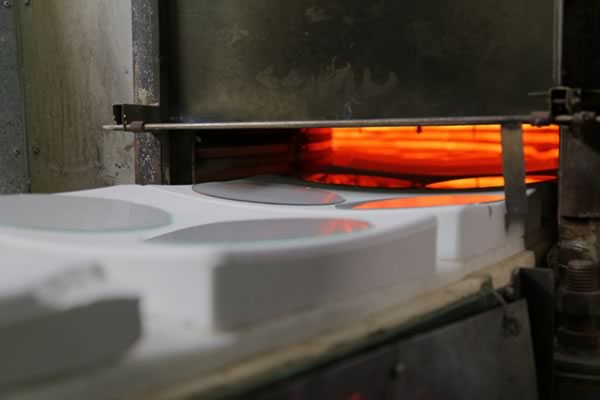
When you’re tempering glass right after silk-screening, it’s all about the balancing act. You’re fighting a thermal tug-of-war. If you hit the glass too hard and too fast, your ink patterns start to blur or the glass itself warps. But if you’re too timid with the heat? You won’t get the structural strength you need, and the whole batch is useless. The trick is in the heat density. We stick with shortwave infrared lamps because they punch through the glass surface quickly. To keep the patterns sharp without sacrificing strength, you have to watch your wattage per linear centimeter. High-wattage lamps get you to that tempering temperature fast, but there’s a catch: if your conveyor speed is off, you’ll literally burn the ink right off the glass. You’ve got to dial in the voltage and power so you don’t cross that line where the ink just breaks down. Then there’s the gear. The quartz envelope and the shape of the reflector basically decide how that energy actually hits the glass. We use high-purity quartz—mostly because cheap stuff just can’t handle the brutal heat cycles and will pop way too soon. A focused reflector is a must, too. It keeps the heat on the glass where it belongs, instead of baking your machine frame. One thing to watch out for: when you push these lamps to the limit, your cooling system takes a beating. If your fans aren’t up to the task, your lamp life will plummet and your connectors will start to oxidize. It’s a headache you don’t want. Making it all work together. You can’t just flip a switch and hope for the best. You need a PID controller that actually lets you shape the temperature. Think of it as a two-step dance. First, you need a gradual “soak” to set the ink. Then, you hit it with a high-heat spike for the tempering. If you skip that first step, you’ll end up with “ghosting”—those annoying faint streaks you see in cheap setups.